The Store Page
Written by: Indresh Maurya
Date: 26-05-2020
Compatibility: Sellacious v2.0.0-rc5
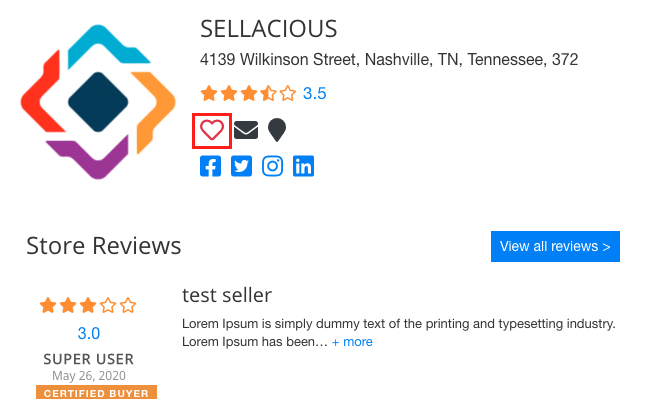
Store page is a page dedicated to individual seller. This page provides all information about a particular seller like seller logo, store name, store address, seller's coupon/discount, store rating/reviews, store timing, store products and many more. In this chapter we will learn how to configure your store page.
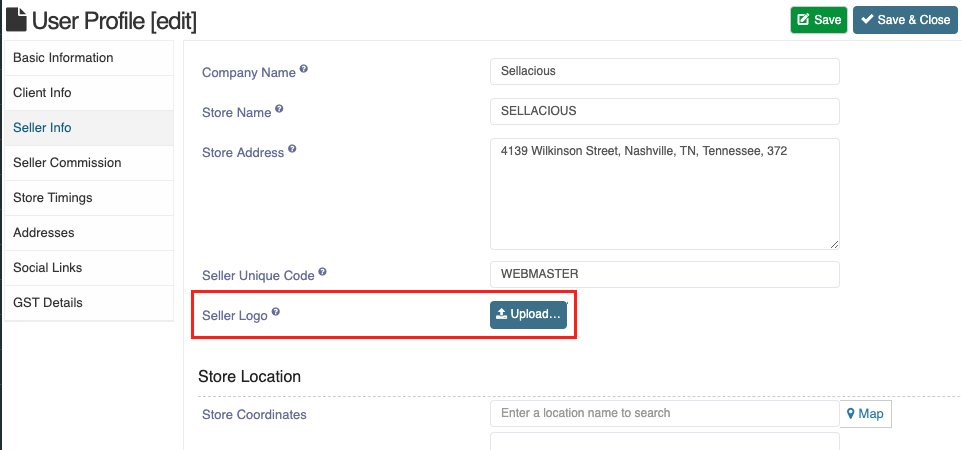
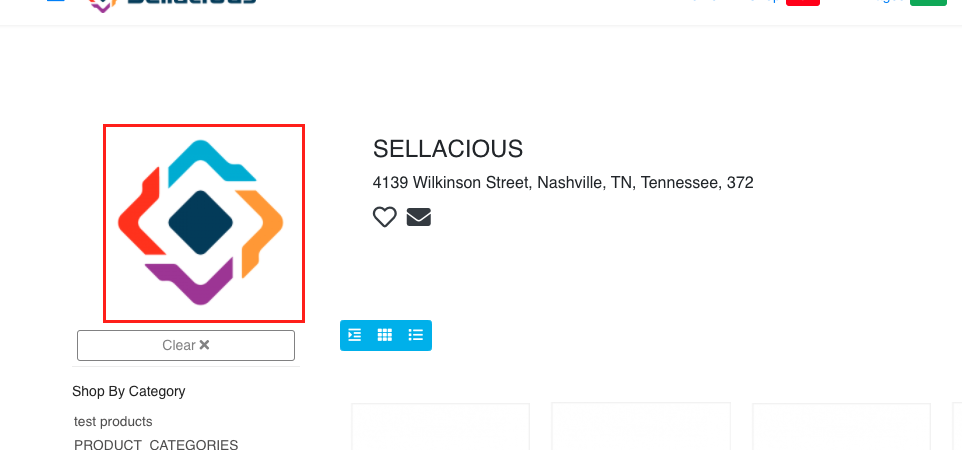
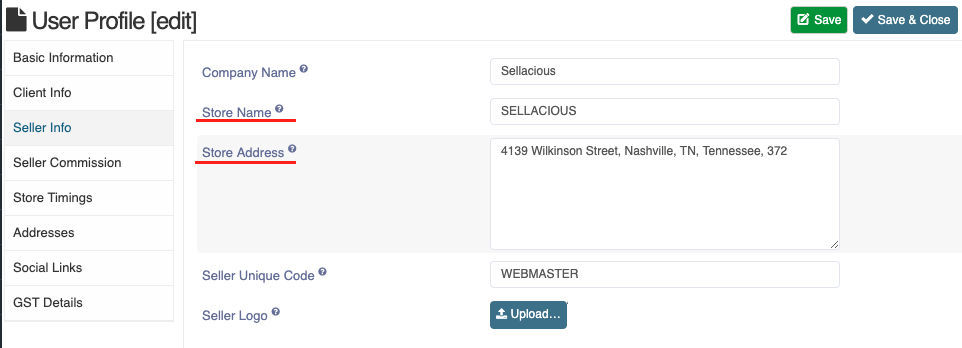
1. Store Logo: Store logo is an image to represent the store. Store logo can be added from Seller profile in sellacious backend. Once uploaded the Store Logo will show on store page.
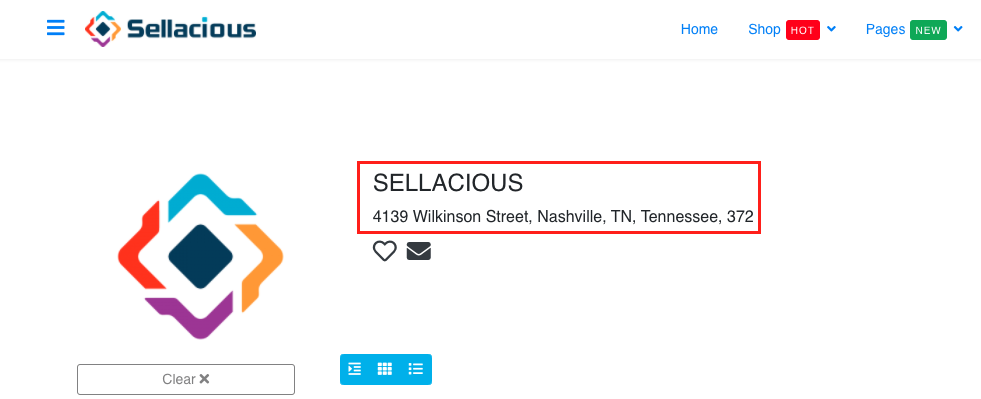
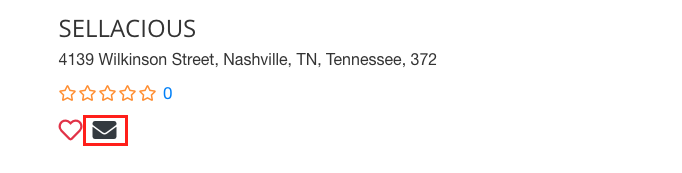
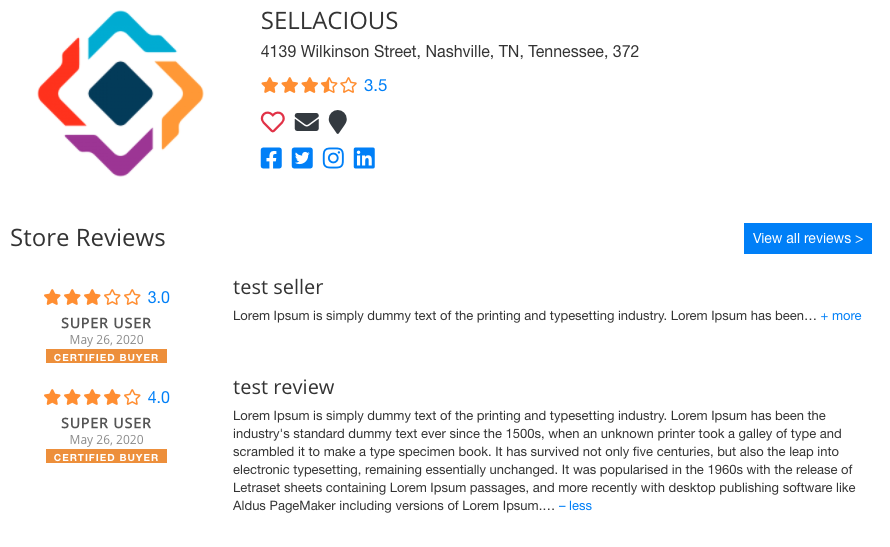
2. Store Name and Address: Store Name can be added from seller profile store name and address fields and will show on store page.
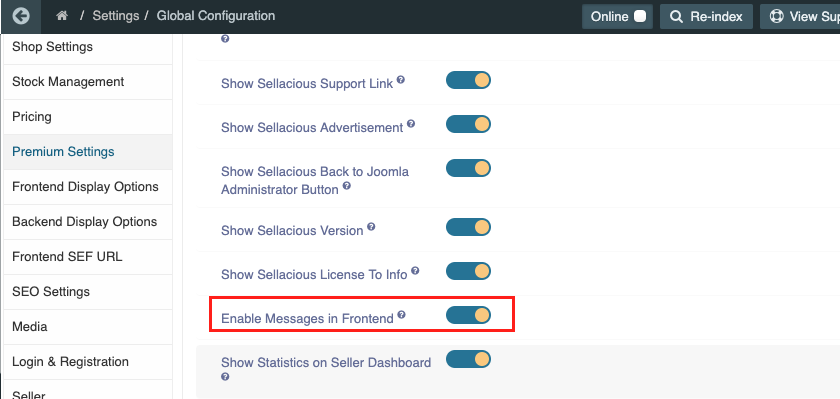
3. Chat to Seller: Seller buyer functionality is added to sellecious. Chat is a premium feature so you need to inable it from premium settings. Go to Settings->Global Configuration->Premium Settings and navigate to chat setting.
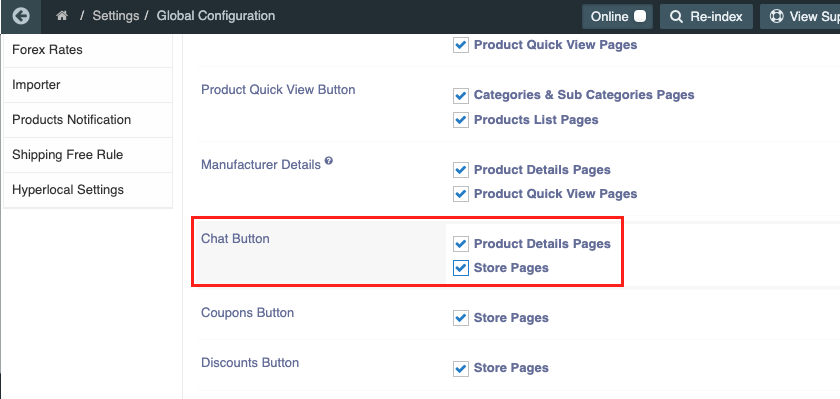
Now got to Frontend Display Options and enable chat button on seller page.
Chat button is visible now on store page
4. Tax and discount Button: Tax and discount buttons can be enabled on store page now. To know more how to do it visit https://www.sellacious.com/documentation-v2#/learn/coupons/coupons-and-discounts-for-store
.png)
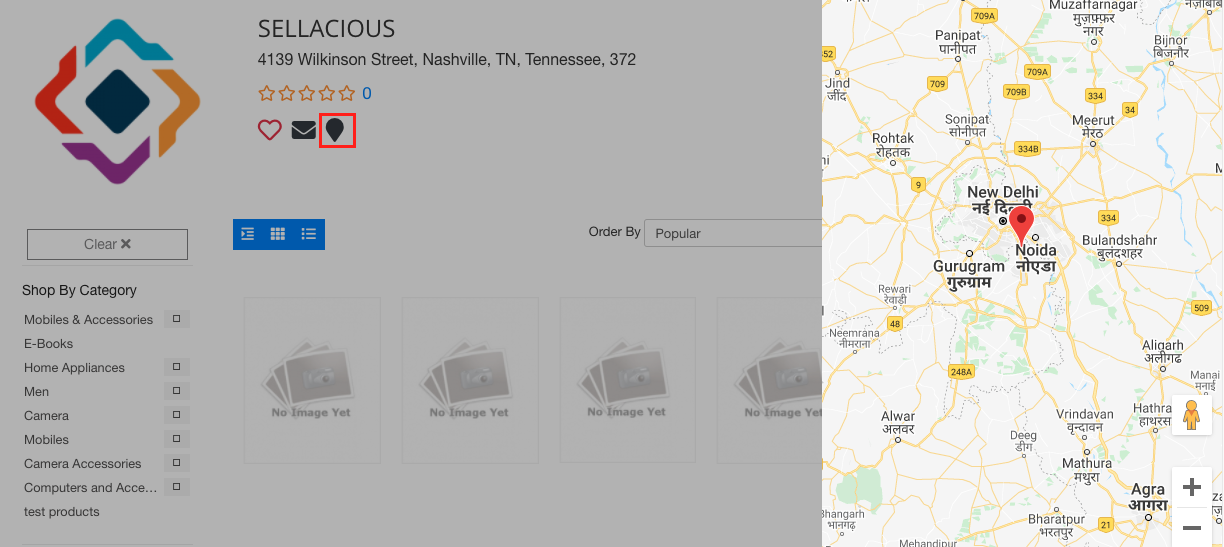
5. Map Location: Location Button can be enabled by adding google map api key in hyperlocal and saving store location in seller profile.
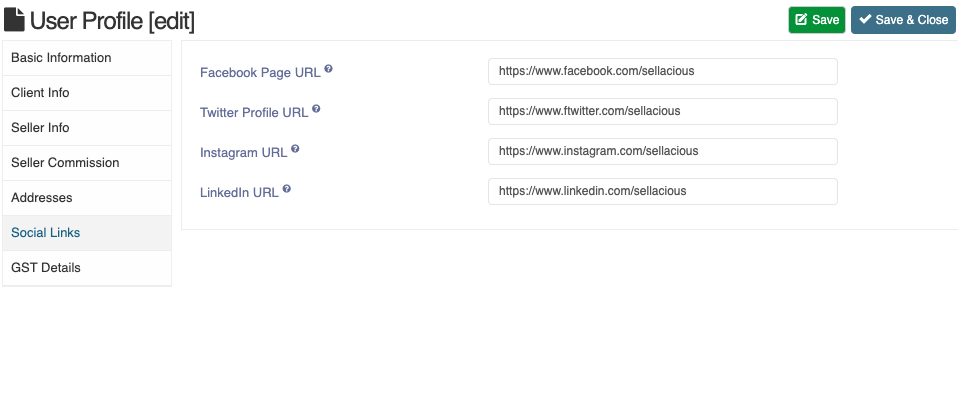
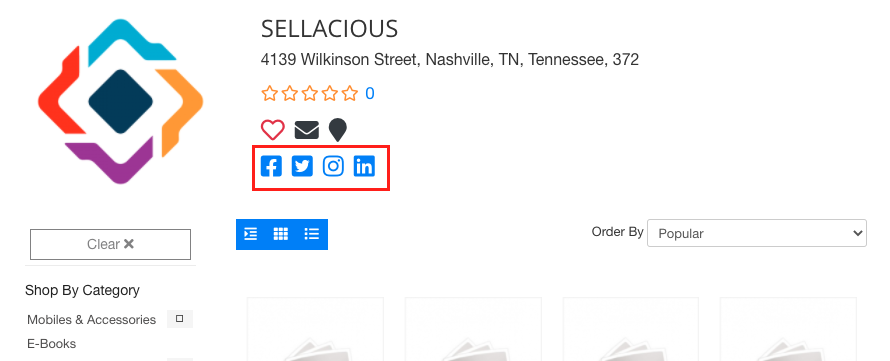
6. Social Icons: Social icons can be added to store page, to add social icon first add social links un seller profile, then enable social links from Settings->Global Configuration->Frontend Display Options-> Social Links
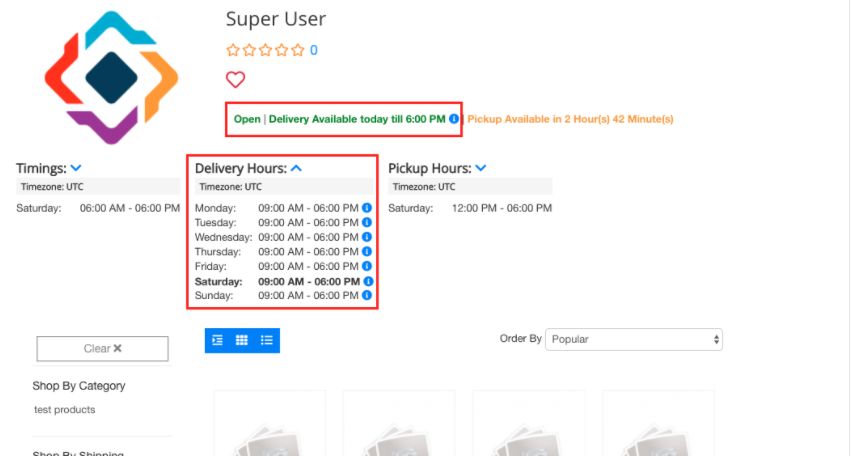
7. Store Timings: Store timings, delivery timing and pickup timing can be enabled on store page. to know more about store timing visit Store timings
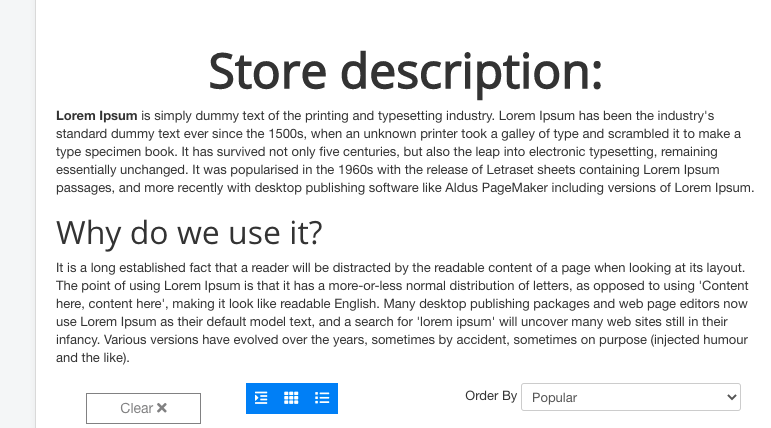
8. Store Description:
Store description added in seller profile will be shown here
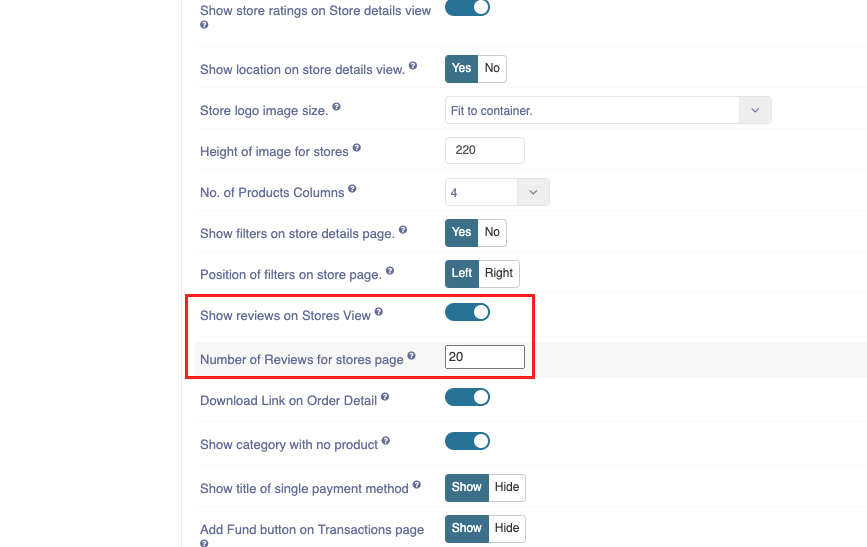
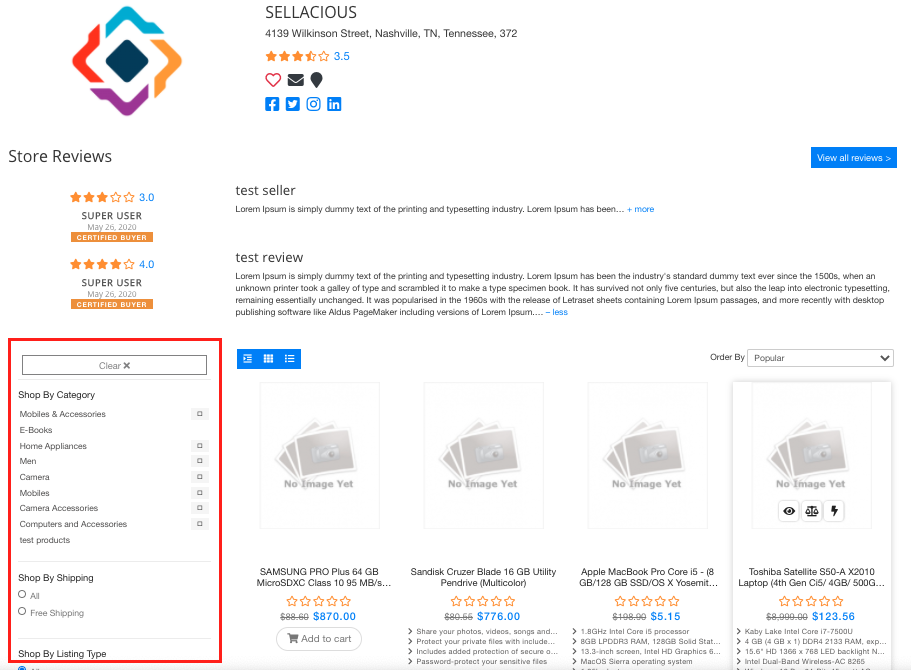
9. Store Reviews: Store reviews can be shown on store page, it can be enabled from Settings->Global Configuration->Frontend Display Options-> Show reviews on Stores View
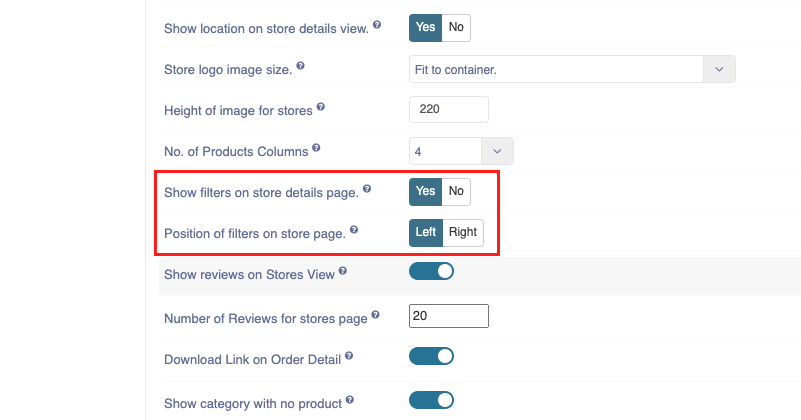
10. Filter Module: Filter module can be enabled on store page, to enable filter module on store page go to Settings->Global Configuration->Frontend Display Options-> Show filters on store details page
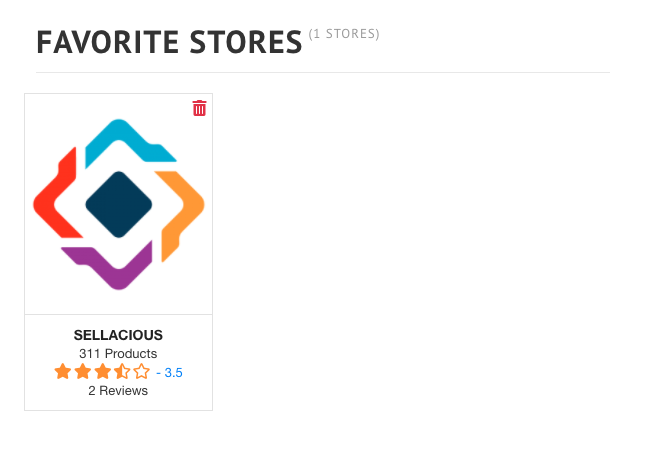
11. Add to favourite store Users can add a store to its favourite list. When you click the button, store will be added to favourite and it will show Favourite store Page too. To know more about it go to Favourite store